
1. Match the builder to what you sell
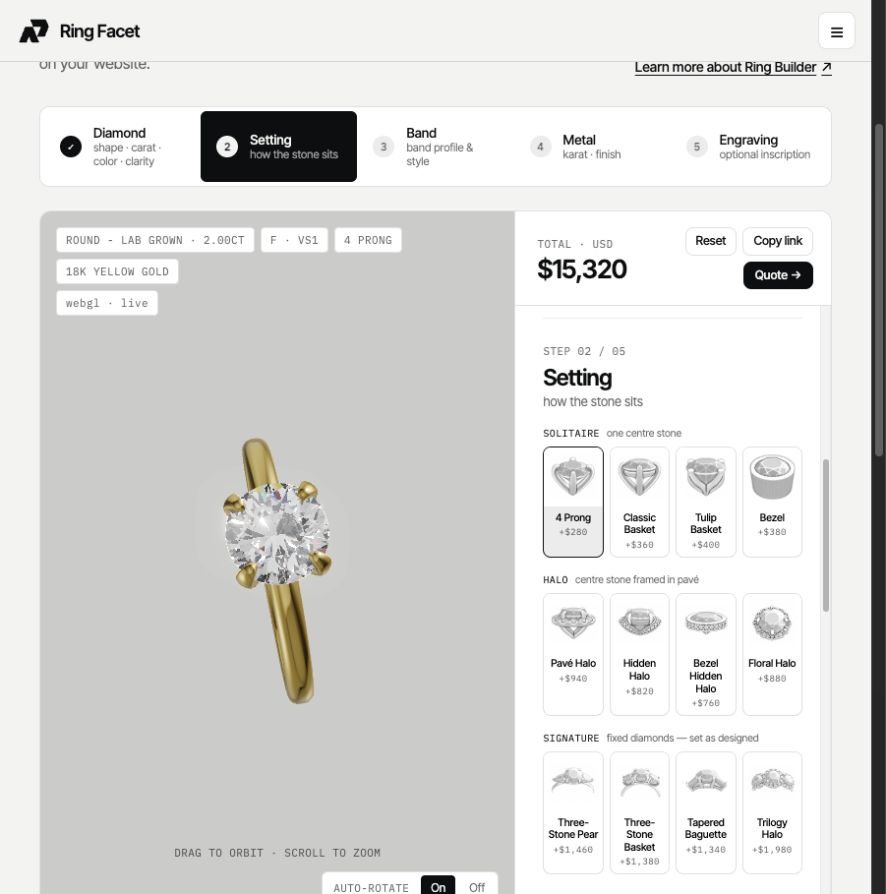
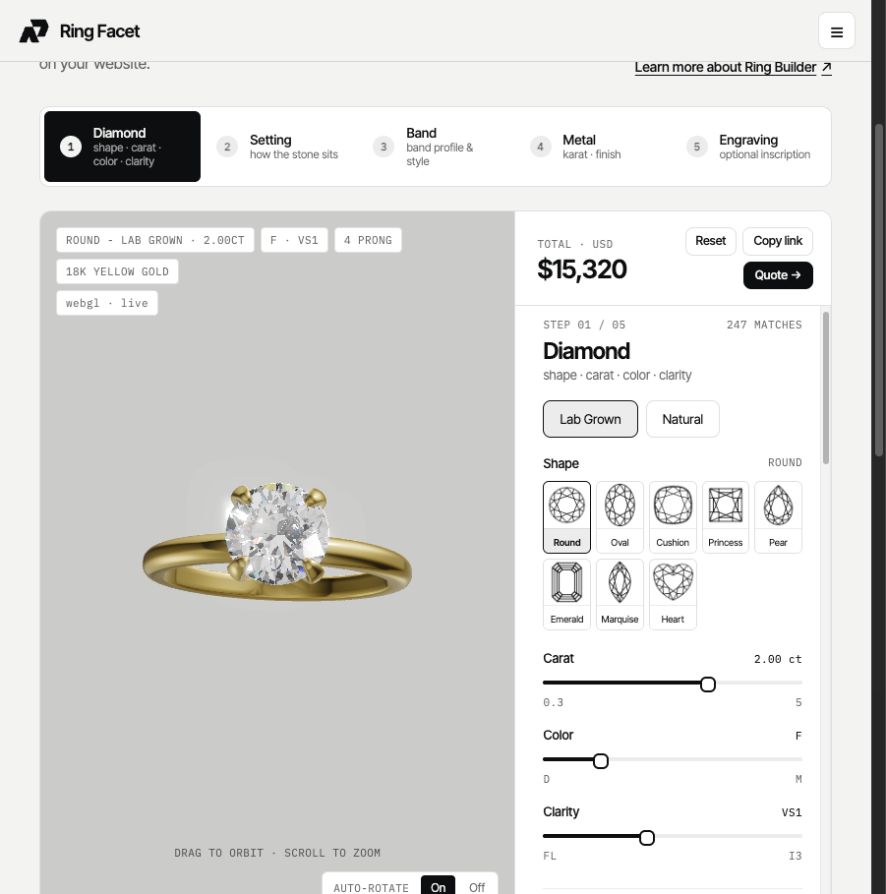
Walk through each enabled shape and setting, including east-west styles if offered. Check compatibility, band choice, metals, finishes and the opening design. Remove options that your workshop cannot fulfil. Test coloured centres and each enabled diamond origin.
The 3D preview helps a customer explore the design. Confirm production details through your own modelling and workshop process rather than treating a visual preview as a manufacturing specification.
2. Compare known catalogue totals
Choose a handful of rings whose prices your team already knows: a default solitaire, a different metal, a halo or signature style, a heavier centre and a Natural diamond if offered. Compare the complete totals and their component rules.
Include a blank full-price cell, quote-only weight and a size outside the online range. Each should lead to the expected quote or unavailable state. If pricing is shared across several configurators, test the other affected collections too.
3. Verify the actual stock selection
For inventory, pick a known diamond and compare its stock number, origin, weight, grades, certificate and media with your source list. Check its retail price against the markup preview. Review rejected import rows and the sellable count.
Assign responsibility for refreshing uploads. Merchant CSV inventory is supported; it does not by itself create a direct, automatically refreshed supplier connection. Follow the inventory guide.
4. Test the embed in your storefront
Use the actual published domain and generated integration. Check the page on a phone as well as a desktop: the viewer, option rows, quote form and cart action should remain usable within the theme.
Open a saved design link and verify that the design and origin return as intended. Check that the configured allowed domain covers the storefront you are launching.
5. Complete a quote and cart test
Submit a quote to your configured recipient and check that it contains the details needed to respond. In cart mode, add a priced design and compare the builder, cart and checkout. Review currency conversion when the configuration and store currencies differ.
Inspect the order information your team will use to fulfil the ring. A correct-looking preview cannot compensate for missing selections in the order or enquiry.
6. Give ongoing updates an owner
Name the person who maintains diamond prices, mounting tables, inventory uploads and quote limits. Keep a small set of known rings as a repeatable check after changes. Re-test affected configurators when shared workspace prices change.
Set up your first configurator · Configure prices · Browse documentation